Introduction to YDBPython
YDBPython is an Application Programming Interface (API) for accessing YottaDB with the Python programming language. It can be used to develop applications in a variety of domains, from the Web to the Internet of Things (IoT).
If you are unfamiliar with YottaDB or YDBPython, the following tutorials are for you. They will walk you through the very basics of developing with both YottaDB and YDBPython.
The first tutorial will show you how to:
Install and configure a YottaDB database
Install YDBPython and set up a simple development environment
Access YottaDB from the command line using the Python interpreter
The second tutorial will show you how to build a very simple web application using YDBPython.
Using YDBPython from the command line
Install and configure YottaDB
To install YottaDB, you can follow the YottaDB Get Started guide.
Then create a new database and automatically setup the environment using the ydb_env_set source script:
source $(pkg-config --variable=prefix yottadb)/ydb_env_set
Confirm YottaDB was installed correctly by checking its version:
yottadb -version
You should see output similar to this:
YottaDB release:         r1.30
Upstream base version:   GT.M V6.3-008
Platform:                Linux x86_64
Build date/time:         2020-08-11 20:55
Build commit SHA:        177eb8e48098204dafe564cac2bcb84312b2853a
That's it! Now you have a fully-operational YottaDB installation and database. Next you'll install YDBPython and setup a Python development environment to test it out.
Install YDBPython
First, you'll install the prerequisite packages. Assuming you are on Debian or Ubuntu:
# Debian/Ubuntu
sudo apt install python3-dev python3-setuptools python3-venv libffi-dev
# RHEL/Rocky Linux
sudo yum install python3 python3-devel libffi-devel
Next, create a directory to use as a development environment:
mkdir ydbpythonintro && cd ydbpythonintro
Then, create a Python virtual environment there and activate it:
python3 -m venv .venv
source .venv/bin/activate
Finally, install YDBPython:
pip install yottadb
Access YottaDB from the command line
Now you're ready to start using YDBPython to access your new YottaDB database. To get started, start the Python interpreter:
python3
Next, import the yottadb module to make it accessible:
import yottadb
Then, store a few values in YottaDB using the set() function:
yottadb.set("^ingredients",("flour", "rye"), "500|g|3.5")
yottadb.set("^ingredients",("flour", "wheat"), "500|g|2.5")
yottadb.set("^ingredients",("flour", "oat"), "500|g|6.5")
Now, your YottaDB database has three nodes, each representing one ingredient of the category "flour". To retrieve these new nodes, you can loop over each ingredient name:
for ingredient_name in yottadb.subscripts("^ingredients",("flour", "")):
    print(yottadb.get("^ingredients",("flour", ingredient_name)).decode('utf-8'))
You should see the following output:
500|g|6.5
500|g|3.5
500|g|2.5
To make things a little more fancy, you can add a couple more entries to the database under a new ingredient category:
yottadb.set("^ingredients",("dried fruits", "cherries"), "300|g|7")
yottadb.set("^ingredients",("dried fruits", "blueberries"), "500|g|5")
Now you can loop over the ingredient categories as well:
for ingredient_category in yottadb.subscripts("^ingredients",("",)):
    for ingredient_name in yottadb.subscripts("^ingredients",(ingredient_category, "")):
        details = yottadb.get("^ingredients",(ingredient_category, ingredient_name)).decode('utf-8')
        print(f"{ingredient_category.decode('utf-8')}: {ingredient_name.decode('utf-8')}: {details}")
You should see this output:
dried fruits: blueberries: 500|g|5
dried fruits: cherries: 300|g|7
flour: oat: 500|g|6.5
flour: rye: 500|g|3.5
flour: wheat: 500|g|2.5
Now you've got down the two most fundamental ways of accessing YottaDB: setting and getting. The next tutorial will show you how to use these fundamentals to build a very simple web application.
A simple web application with YDBPython
This tutorial will show you how to use YDBPython alongside the popular Flask Python web development framework to build a simple, single-page web application.
To get started, first create a new directory to host the application, and create a new Python virtual environment there:
mkdir ydbpydemo
cd ydbpydemo/
python3 -m venv .venv
source .venv/bin/activate
Then, install both Flask and YDBPython into the virtual environment:
pip install flask yottadb
Next, open a new ydbpydemo.py file with your editor and add the following code to create a basic Flask application:
import yottadb
from flask import Flask

app = Flask(__name__)


@app.route("/")
def home():

    return "<h1>Ingredients</h1>"
You can then run this simple application with:
flask --app ydbpydemo run
If you then direct your browser to localhost:5000, you should see a page that says "Ingredients" at the top:
Once you've got this working, run the following code from the previous tutorial in the Python interpreter if you haven't already:
yottadb.set("^ingredients",("flour", "rye"), "500|g|3.5")
yottadb.set("^ingredients",("flour", "wheat"), "500|g|2.5")
yottadb.set("^ingredients",("flour", "oat"), "500|g|6.5")
yottadb.set("^ingredients",("dried fruits", "cherries"), "300|g|7")
yottadb.set("^ingredients",("dried fruits", "blueberries"), "500|g|5")
This will add some data to the database for our application to retrieve. Alternatively, you could set the same nodes using a YottaDB Key object:
ingredients = yottadb.Key("^ingredients")
ingredients["flour"]["rye"].value = "500|g|3.5"
ingredients["flour"]["wheat"].value = "500|g|2.5"
ingredients["flour"]["oat"].value = "500|g|6.5"
ingredients["dried fruits"]["cherries"].value = "300|g|7"
ingredients["dried fruits"]["blueberries"].value = "500|g|5"
Next, revise the home() function you just defined to look like this:
@app.route("/")
def home():

    html = "<h1>Ingredients</h1><uo>"

    for ingredient_category in yottadb.subscripts("^ingredients", ("",)):
        for ingredient_name in yottadb.subscripts("^ingredients", (ingredient_category, "")):
            details = yottadb.get("^ingredients", (ingredient_category, ingredient_name)).decode('utf-8')
            html += (f"<li>{ingredient_category.decode('utf-8')}: {ingredient_name.decode('utf-8')}: {details}</li>")
    html += "</uo>"
    return html
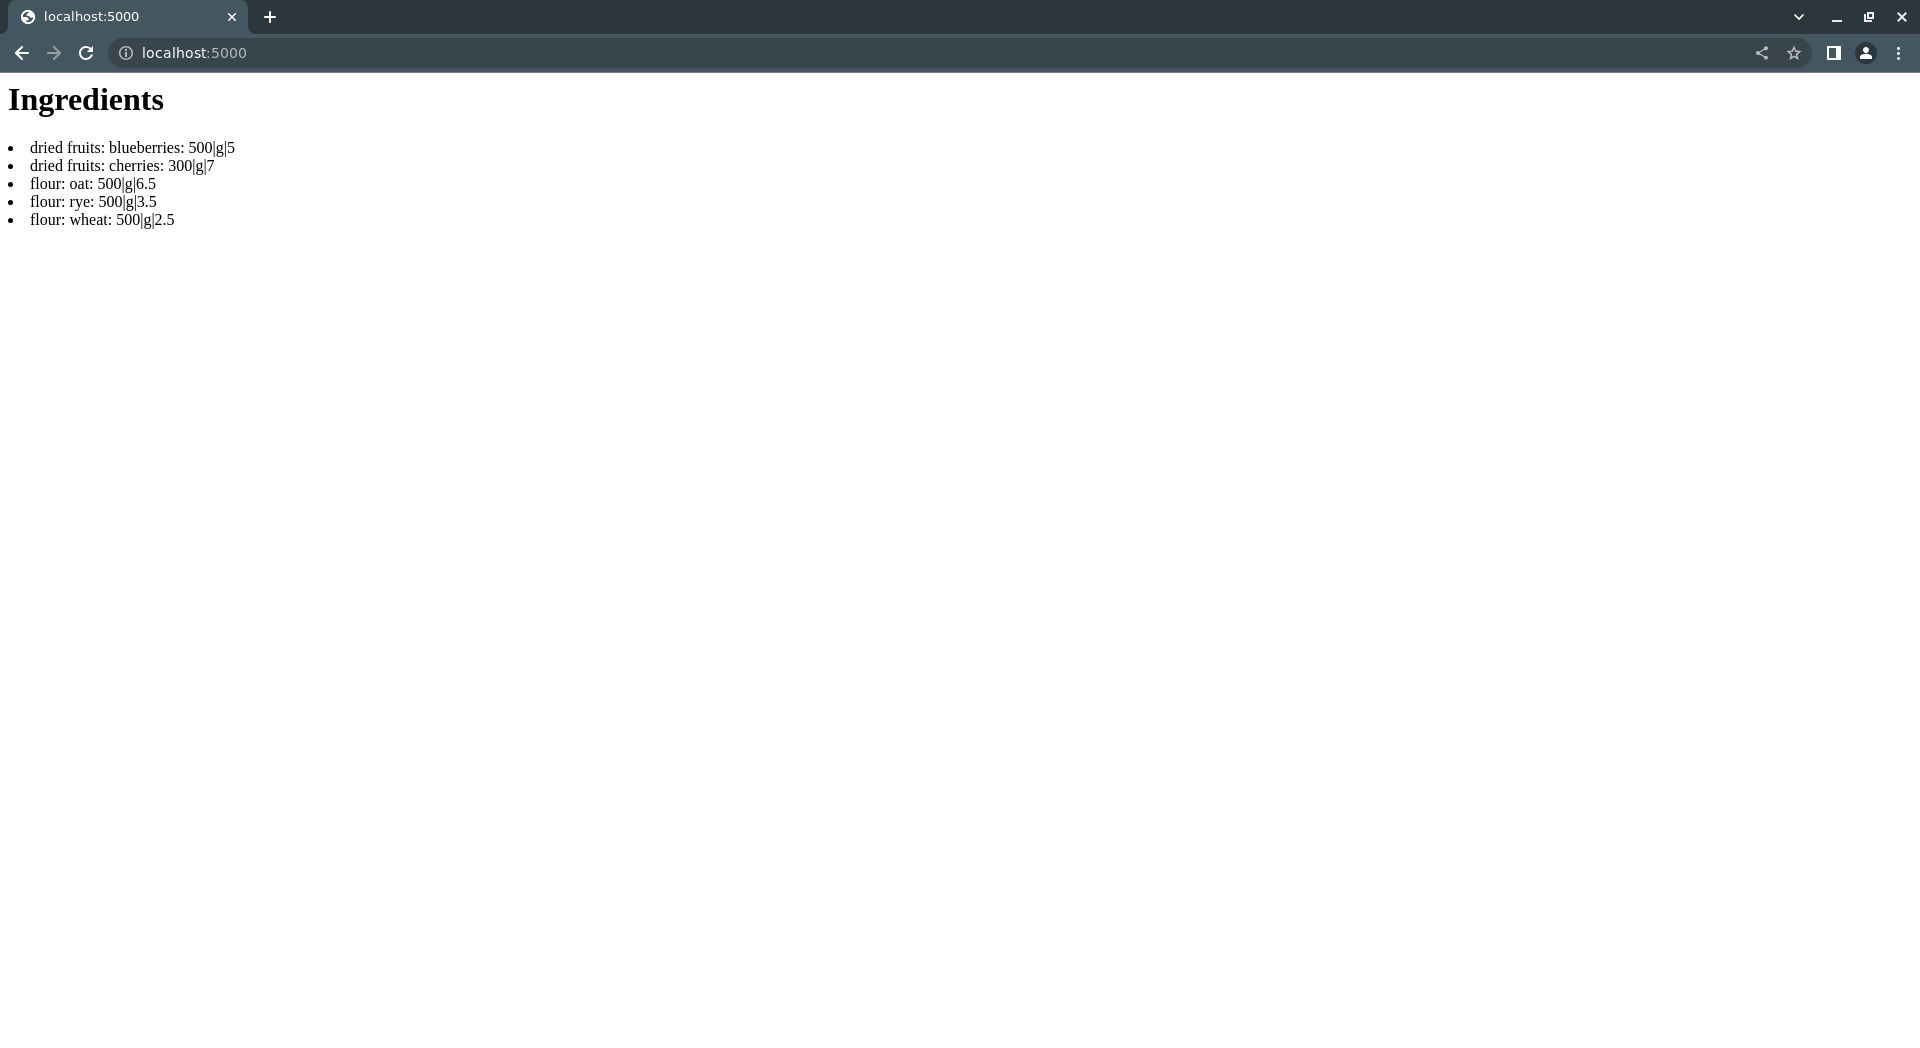
Then, run the app again and return your browser to localhost:5000. You should then see the "Ingredients" heading followed by a list of ingredient information derived from the database:
That's it! You've now got a very basic web application with YottaDB as the datastore and, hopefully, a idea of how YottaDB can be used for applications development.
